

Magnetic Organizer Board Guide for Cruise Cabins
By the second day of a cruise, the bathroom counter often becomes a shared landing strip for sunscreen, chargers, sunglasses, toiletry bags, and the documents you need before dinner. Two people can fill the available horizontal space before either person has found a comfortable place for a toothbrush.
A magnetic organizer board offers another way to think about the cabin. Instead of asking what can fit on the counter, look at the unused wall or door and ask what can safely live there. The important qualification is that not every ship surface is magnetic, and a strong catalog rating doesn't automatically predict how a loaded board will behave in a moving cabin.
Table of Contents
- Why Cruise Cabins Need Vertical Storage
- What a Magnetic Organizer Board Actually Is
- Choosing Board Sizes and Pocket Types
- How to Test and Mount on Metal Cabin Surfaces
- Sample Cabin Organization Layouts
- Cruise Line Rules and Cabin Safety Basics
- Packing and Travel Considerations
- Your First Night Setup Plan
Why Cruise Cabins Need Vertical Storage
A cruise stateroom asks you to live neatly in a compact footprint. The bed, desk, bathroom, and luggage already claim most of the floor and counter area, so everyday objects tend to migrate into unstable piles. One person's room key lands beside the sink, another person's charging cable disappears under a shirt, and the excursion paperwork gets buried beneath sunscreen.
Vertical space changes that pattern. A wall can act like a second closet, keeping small items visible without taking another share of the counter. You might place sunglasses at eye level, chargers in a lower pocket, and documents near the door, creating a simple visual map instead of a collection of flat piles.
That approach fits the history of organizer boards. Magnetic boards developed from the combination of reusable visual surfaces and permanent magnetic attachment, rather than from a wholly new storage idea. Dry-erase boards emerged as alternatives to chalkboards during the mid-20th century, while magnetic versions added a way to hold notes, cards, and lightweight accessories on the same surface. This account of magnetic whiteboard development describes that progression from writable communication surface to writable display surface.
Why horizontal space fails first
Countertops are convenient, but they have a fixed limit. Every bottle, cable, and card placed there makes the next item harder to find, and shared counters become especially difficult when both travelers follow different routines.
A vertical organizer gives each category a visible home:
- Daily items: Sunglasses, room cards, and lip balm stay within reach.
- Soft goods: Lightweight accessories can sit in mesh pockets rather than on the bed.
- Paper items: Tickets, schedules, and identification stay near the place where you'll leave the cabin.
Before choosing a board, read these small-space storage ideas for cruise cabins and then inspect your own stateroom photos or deck plan. The best location is the one that reduces a recurring trip to the counter, drawer, or bed.
What a Magnetic Organizer Board Actually Is
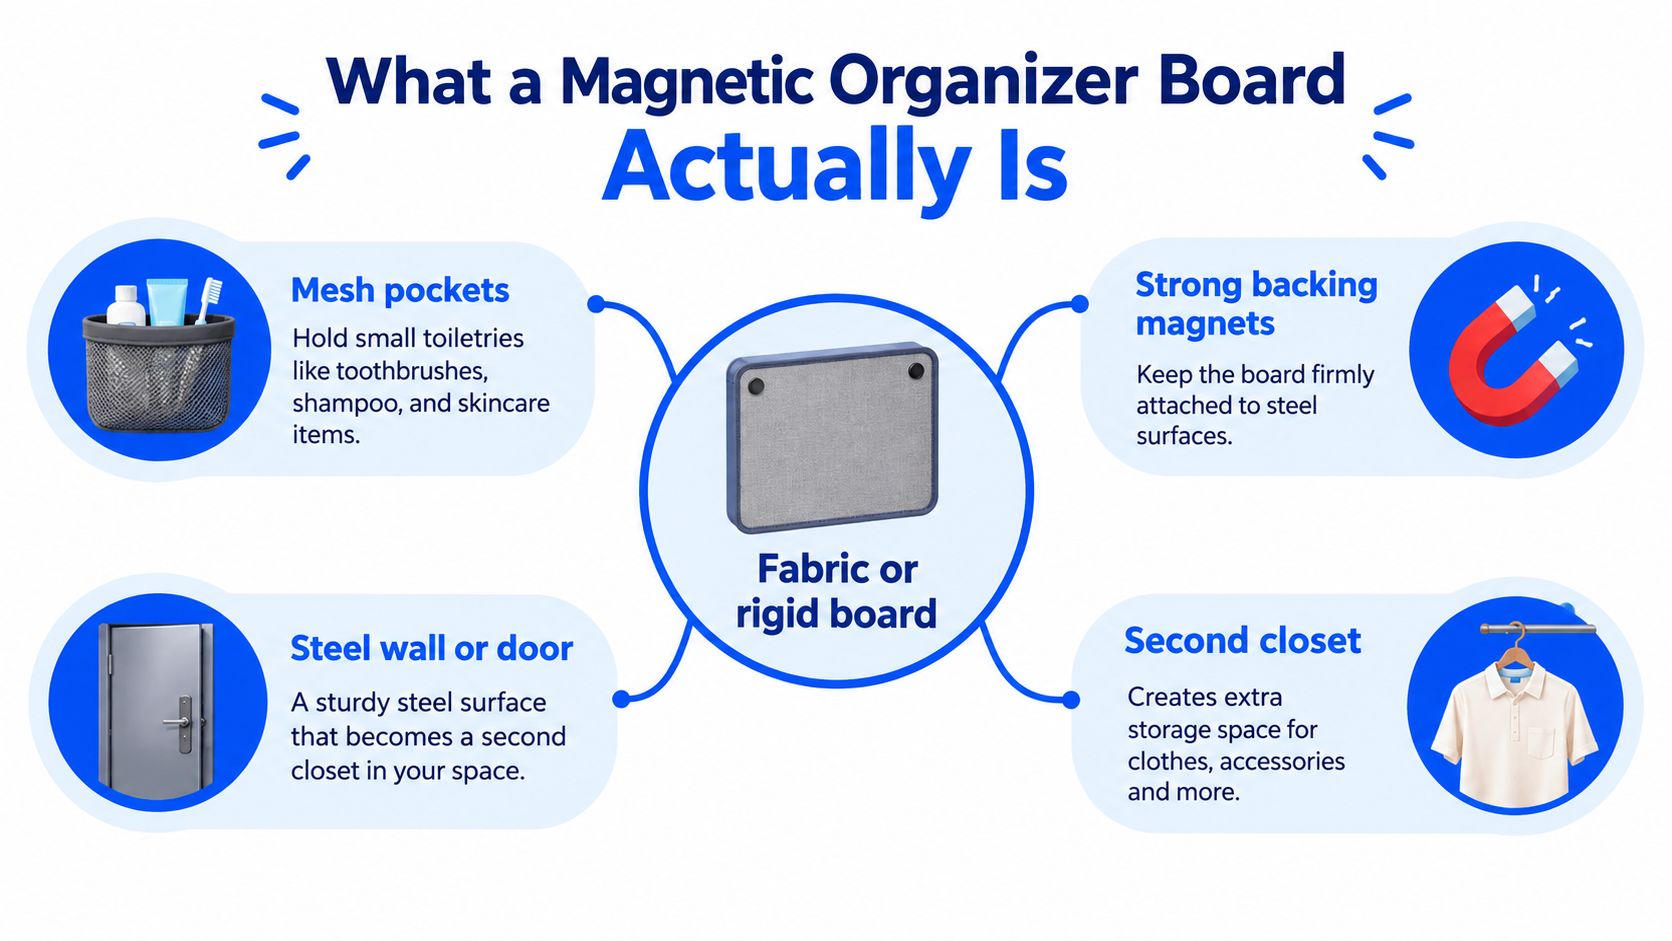
A magnetic organizer board is a fabric or rigid panel fitted with pockets and magnets on its back. Those magnets attach the panel to a compatible steel wall or door, while the pockets hold the objects that usually spread across a small cabin.
Think of it as a pegboard without drilled holes. A traditional pegboard uses fixed pegs and hardware. A magnetic organizer uses the magnets as its attachment points, and the cabin wall becomes the supporting surface. You can move the panel when the bathroom routine, sleeping arrangement, or door access makes another location more practical.
The two systems working together
The board combines two established technologies. Dry-erase and display boards created reusable surfaces for communication, while permanent magnets created removable attachment. Improvements in magnet materials made smaller attachment points more useful. The Science Museum notes that magnetic force available from a permanent magnet of a given size approximately doubled every 12 years during long-term development, and that a modern neodymium magnet can offer the force of a traditional lodestone at about one-thousandth of the mass. The history of permanent magnets explains why compact magnetic systems became practical.
That doesn't mean every organizer belongs on every wall. The panel needs a ferromagnetic surface, and the magnets must work through the panel's backing, fabric, protective layer, paint, or laminate. A wooden door, a nonmagnetic stainless-steel layer, or a thick coating can prevent a good hold.
How it differs from other hanging options
An over-the-door organizer transfers its load to hooks and the door edge. An adhesive organizer depends on a glued or taped interface. A magnetic organizer avoids drilling and can be repositioned, but only when the surface and load are suitable.
For example, the Magnetic Cruise Door Organizer uses three anti-scratch magnets, includes bonus over-the-door hooks for non-cruise use, and has fifteen mesh pockets measuring 7.5 by 10 inches. The catalog lists a holding capacity of up to 25 pounds, but that product figure shouldn't replace a surface test on a specific ship.
Some cruise lines restrict over-the-door hooks because they can affect doors or finishes. Magnetic attachment may be a more suitable starting point, but “magnetic” doesn't mean automatically permitted, universal, or damage-free. Check the line's current policy and the cabin surface before packing.
Choosing Board Sizes and Pocket Types
Choose the board by the objects you want to store, then confirm that its footprint fits the wall you have. Pocket count matters less than pocket opening, depth, total board height, and the distance between the organizer and anything that must open nearby.
A fifteen-pocket layout with 7.5 by 10-inch pockets is suited to larger, flatter items. It can accommodate toiletry bags, shoes, sunscreen, diapers, or folded lightweight goods, according to the catalog description. A fourteen-pocket layout with 7 by 5.3-inch mesh pockets is more appropriate for smaller personal items, such as chargers, sunglasses, travel documents, and individual toiletries.
A practical cabin match
For a couple sharing a compact stateroom, the fourteen-pocket board can work as a daily essentials panel. Assign the upper pockets to sunglasses and room cards, the middle pockets to chargers and small toiletry containers, and the lower pockets to backup items that don't need constant access.
For a family or anyone carrying bulkier soft goods, the fifteen-pocket board offers more generous pocket openings. Use the upper row for frequently reached items, the middle area for toiletries and sunscreen, and the lowest pockets for shoes or spare supplies. Keep the heaviest contents low and close to the supporting wall.
| Feature | 15-Pocket Board | 14-Pocket Board | Best For |
|---|---|---|---|
| Pocket count | 15 mesh pockets | 14 mesh pockets | Different storage zones |
| Pocket dimensions | 7.5 by 10 inches | 7 by 5.3 inches | Larger items versus compact essentials |
| Magnetic attachment | Three anti-scratch magnets listed in the catalog | Two anti-scratch magnets listed in the catalog | Compatible steel surfaces |
| Catalog load claim | Up to 25 pounds | Up to 25 pounds | Only after real-surface validation |
| Cabin layout | Toiletries, shoes, sunscreen, and larger soft goods | Chargers, sunglasses, documents, and small toiletries | Families or fuller packing versus couples and compact kits |
A product's stated capacity is not a promise that a painted cabin door will support the same load. Treat the specifications as a starting point, measure the usable wall area, and plan for the weakest surface you might encounter.
Here is the visual comparison for the two layouts:
How to Test and Mount on Metal Cabin Surfaces
A surface test should happen before you trust the board with anything important. Test the actual wall or door, not a refrigerator at home and not a metal sample from a product page.
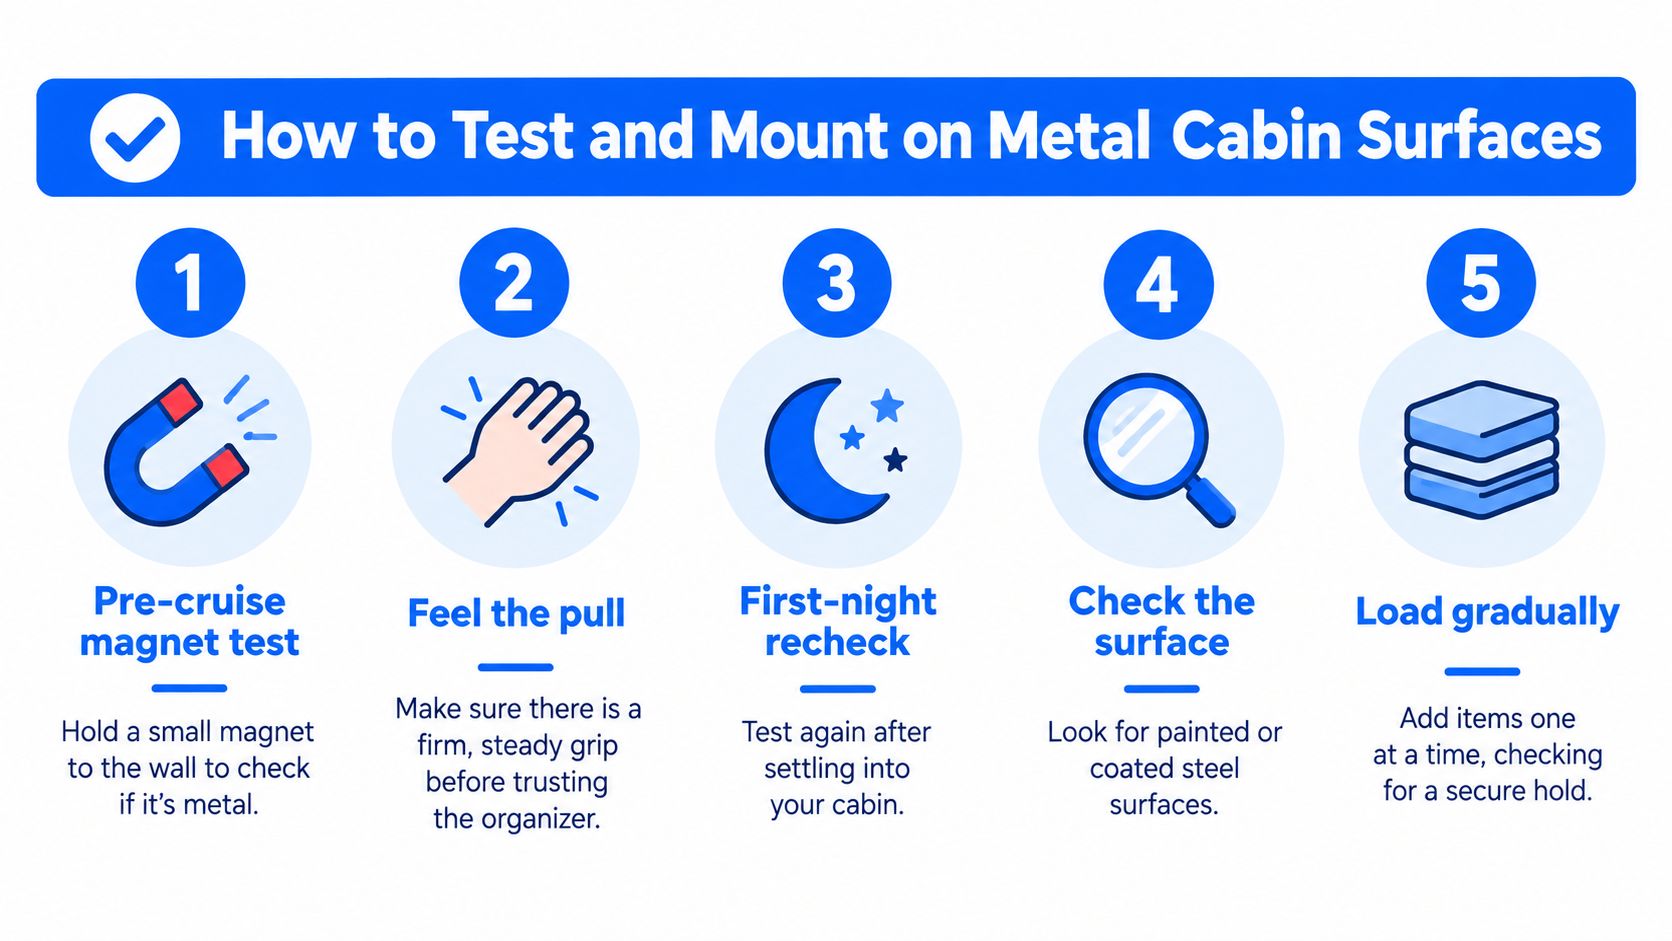
Bring a small magnet on the trip. Hold it against the intended surface, then move it across several areas. A steady, firm pull is useful evidence. A weak attraction, a pull that changes across the panel, or no attraction means you should choose a different location or use a nonmagnetic fallback that doesn't damage the cabin.
Why catalog pull force can mislead
Pull force measures a magnet being separated straight outward from an ideal, thick, flat steel plate. A board hanging on a vertical wall behaves differently. Its weight tries to slide downward, so shear, not headline pull force, is usually the relevant load.
Friction between the magnet and the surface resists that sliding. Engineering guidance commonly places practical shear capacity at approximately 15 to 30 percent of rated pull force, depending on surface finish and coating. A magnet rated at 100 newtons in perpendicular pull may provide approximately 15 to 30 newtons of useful sliding resistance before safety factors are applied. This guide to magnetic holders explains the distinction.
Cruise cabins add vibration, door movement, ship motion, and accidental bumps. A 3 to 5 times safety factor is recommended for dynamic or bumped loads, so don't plan to use the catalog maximum as your everyday target.
A careful mounting sequence
- Clean the contact area gently. Remove grit that could scratch the finish or keep the magnet from sitting flat.
- Place the board low and level. A low position reduces the consequence of a slide and keeps heavy pockets closer to the wall.
- Distribute the contents. Use every mounting point and avoid placing all weight in one corner.
- Load gradually. Add light items first, then watch whether the board shifts before adding anything heavier.
- Use a lower stop when possible. A locating magnet, lip, or mechanical stop can prevent downward migration.
Paint, laminate, curvature, and rough surfaces create an air gap. One technical guide reports that a gap of approximately 1 millimeter can reduce pull by 30 to 50 percent, while a gap around 3 millimeters can reduce it below 25 percent of the original value. The same guide reports that austenitic 300-series stainless steel can reduce magnetic force by 70 to 90 percent because it is nearly nonmagnetic. This explanation of magnets for holding and latching shows why you should test through the organizer's actual backing and any protective layer.
For another magnetic cabin option, compare the mounting principles described in this guide to magnetic wall hooks, but validate the organizer separately. Different magnet areas and load positions produce different results.
Sample Cabin Organization Layouts
The most useful board is organized around routines, not around an abstract idea of neatness. Put an item where you'll reach for it, and keep things that travel together in neighboring pockets.
The toiletries station
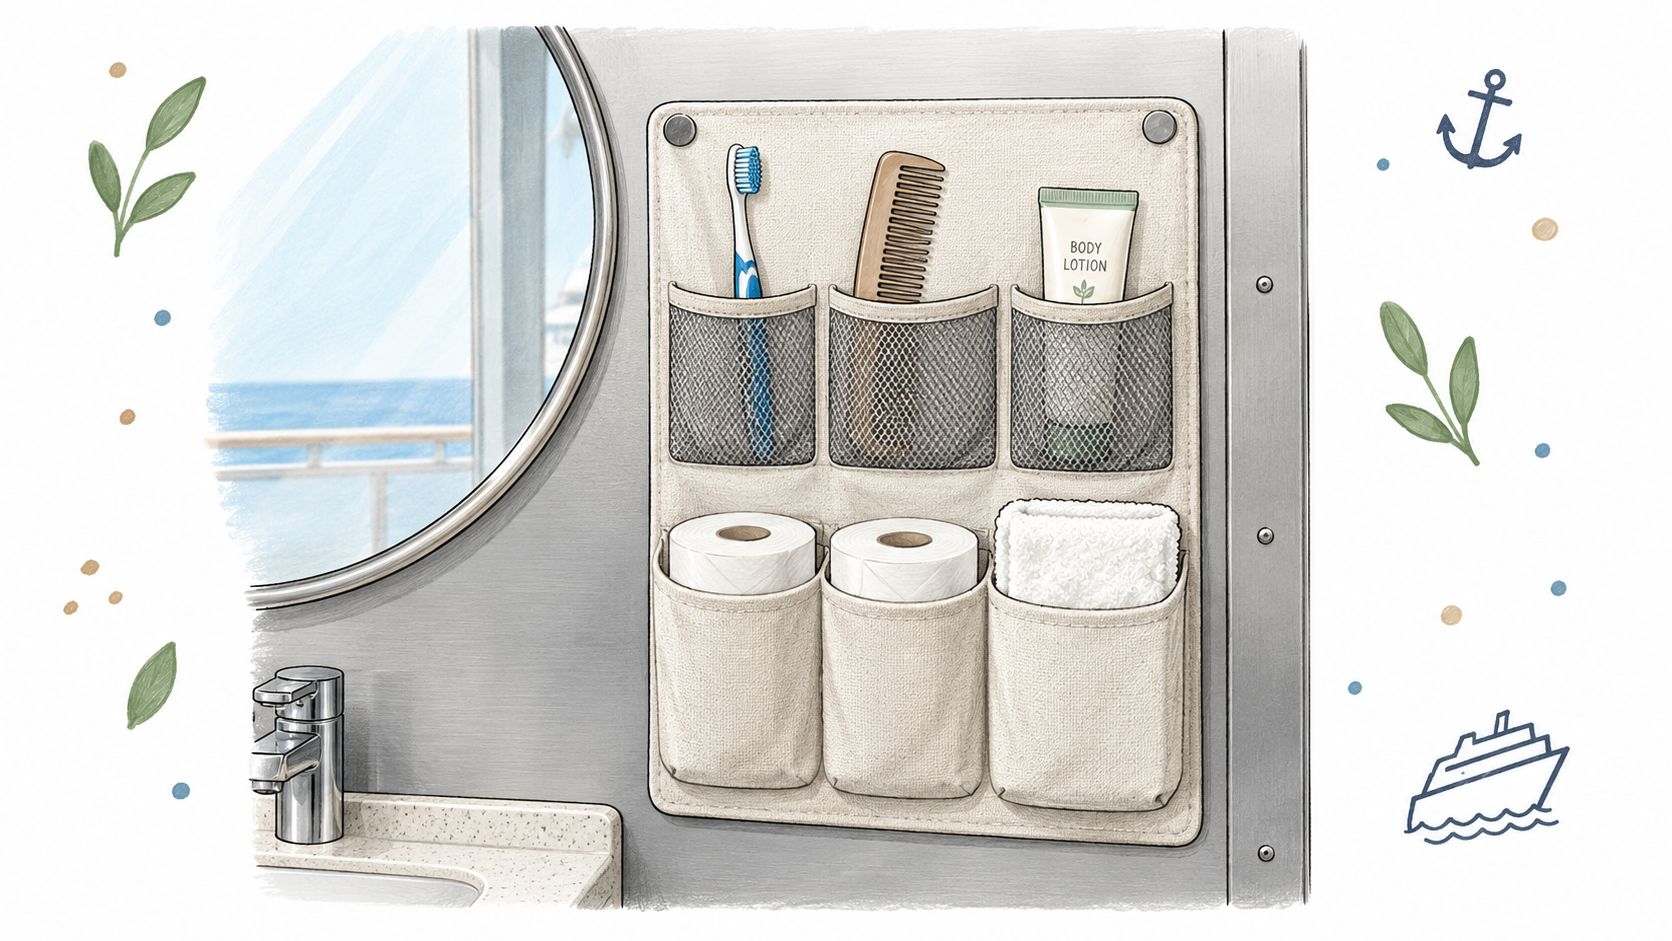
Mount the board near the bathroom mirror only if the surface passes the magnet test and the location doesn't interfere with the door, fixtures, or safety equipment. Use the middle pockets for toothpaste, sunscreen, combs, and the toiletries you use each morning. Put backup supplies and less frequently used items below them.
Keep bottles closed and upright. The organizer shouldn't become a substitute for a stable shelf when a container could leak or add significant weight. Leave the top pockets for light items, such as a small washcloth or travel brush.
The charging hub
Place a compact board near the desk or a safe bedside wall where both travelers can see it. Use one pocket for charging cables, another for earbuds, and another for power adapters. Keep phones in a pocket only while they're being stored, not while a cable is stretched tightly across a walkway or bed.
This layout solves a familiar night scene. Instead of searching beside the mattress for a loose cable, you return each cord to the same visible pocket after charging. Keep the lower pockets available for heavier adapters, while the upper pockets hold lightweight accessories.
The document drop zone
Near the cabin entrance, assign one pocket to room cards and identification, one to excursion paperwork, and one to items that must leave with you at the next departure. Don't block the peephole, door frame, signage, or any safety hardware.
This placement also supports a simple departure check. Before leaving, each traveler looks at the same three pockets, collects what they need, and returns the documents when they come back. The board becomes a visual reminder rather than another place for important papers to disappear.
Cruise Line Rules and Cabin Safety Basics
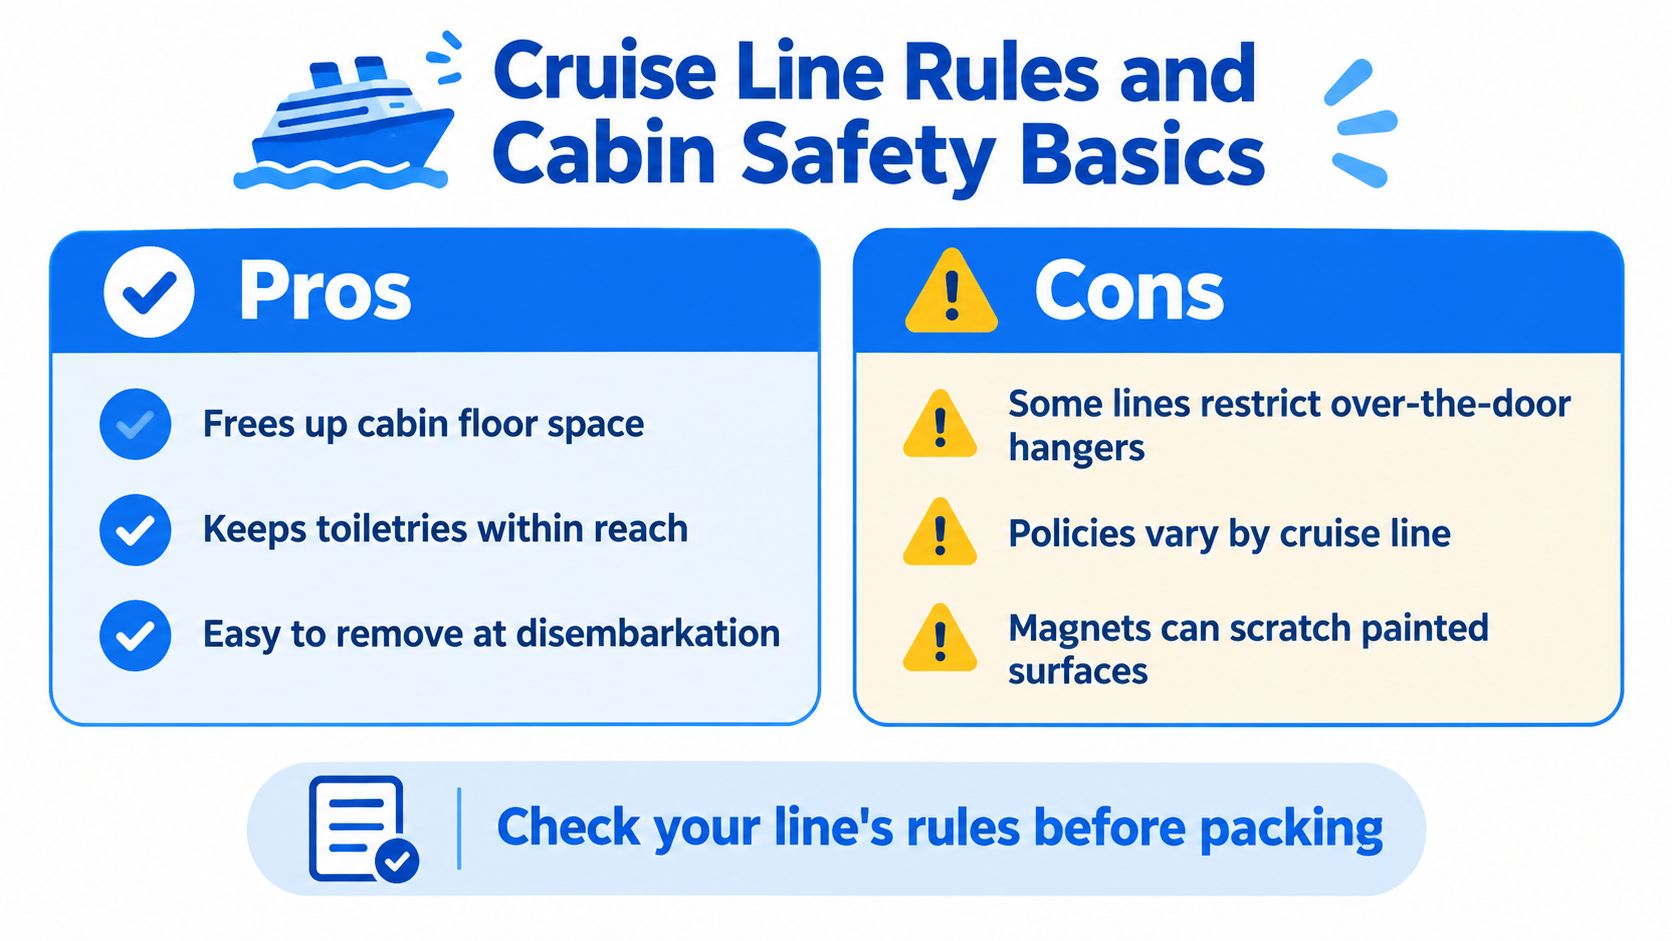
A damage-free mount isn't a rule-free mount. Cruise policies vary, and current coverage notes that some lines restrict over-the-door organizers, limit where magnets may be used, or prohibit certain decorations. Some cabins also have wooden or nonmagnetic door surfaces, so a product that works on one ship may be unusable on another.
Check your cruise line's current guidance before you pack. Pay particular attention to whether the policy concerns stateroom doors, interior walls, hallway areas, balconies, ceilings, or decorations. Those are different contexts, and permission in one location doesn't extend automatically to another.
Keep the contents boring and useful
A cabin organizer works best for lightweight, nonhazardous daily items:
- Good candidates: Chargers, sunglasses, documents, room cards, small toiletries, and lightweight accessories.
- Poor candidates: Aerosols, sharp objects, heavy bottles, loose lithium-powered lighting, and anything that could fall during movement.
- Never obstruct: Peepholes, door frames, corridors, emergency equipment, signage, or the door's ability to close fully.
Safety rule: Reducing counter clutter doesn't justify adding weight, blocking visibility, or slowing evacuation.
Remove the board before inspections, disembarkation, or any situation where crew instructions require a clear door or wall. Housekeeping also needs unobstructed access to the cabin and its fixtures.
The issue has become more important as cruise accommodation continues to diversify. Current coverage identifies single-occupancy cabins as a growing accommodation trend in the 2025 CLIA industry report, but that doesn't change the need to follow the specific rules for your sailing. This cruise-door-decoration coverage describes restrictions involving adhesives, string lights, materials that aren't fire-retardant, and objects extending beyond doors.
Before using a magnetic organizer on a door, read this guide to cruise ship magnets and then confirm the current policy with the cruise line. The responsible plan includes both a mounting method and a removal plan.
Packing and Travel Considerations
A magnetic organizer has to earn its place in your luggage. Choose a panel that folds flat or rolls without damaging its pockets, and protect the magnets from scratching other belongings. Pack it where you can reach it after boarding if you'll set up before unpacking the suitcase.
The organizer should replace disorder, not create another bundle of accessories. Decide in advance which items will move into it, and leave behind duplicate containers or storage pieces that won't be used.
Build a compatible cabin kit
A magnetic organizer can sit within a broader system of compact cruise accessories. A magnetic fan can use a suitable metal surface for airflow, a rechargeable night light can guide movement near the bathroom, and a magnetic clothesline can give wet swimwear a dedicated drying location. Each item needs its own surface check and policy review. One approved magnetic product doesn't make every other attachment automatically acceptable.
Think in zones:
- Entry zone: Documents, room cards, and departure essentials.
- Personal-care zone: Toiletries and small grooming items.
- Comfort zone: Night lighting, airflow, or drying equipment, positioned so it doesn't obstruct movement.
Pre-cruise checklist
Before leaving home, confirm that:
- The board fits your plan: Measure the intended cabin area from photos, prior experience, or the ship's layout information.
- The pockets match your objects: Larger pockets suit bulkier soft goods, while smaller pockets keep chargers and documents separated.
- The magnets are protected: Place a thin barrier around the attachment points if the design doesn't already protect the cabin finish.
- The load is conservative: Pack only lightweight contents until the actual wall has passed the magnet test.
- The rules are current: Check the cruise line's own guidance rather than relying on a product description or an older forum post.
Avoid bringing adhesive products as a casual fallback. Adhesives can damage finishes, and a nonmagnetic cabin may require a different storage plan altogether.
Your First Night Setup Plan
Set up the board before the cabin becomes cluttered. The process should take only a few minutes if you've chosen the location and contents in advance.
- Test the wall or door with a small magnet.
- Feel for a firm, consistent hold across the intended area.
- Mount the organizer low and level.
- Put the heaviest approved items in the lowest pockets, close to the wall.
- Add contents one at a time.
- Give the loaded board a gentle shake and watch for sliding, peeling, or tilting.
- Remove anything that makes the board migrate or obstructs access.
Your final decision comes down to four checks: the right pocket layout, a verified surface, a routine-based placement, and compliance with the ship's rules. If any one of those fails, use less weight, choose another location, or leave the organizer packed.
Wake up on the first full day with the counter clear, chargers visible, and the essentials where your hands expect them. The cabin hasn't gained square footage, but vertical storage can make its limited space feel much easier to live in.
Nordmoose offers magnetic cabin organizers alongside compact cruise accessories designed around small staterooms, including solutions for storage, airflow, low-light navigation, and drying swimwear. Visit Nordmoose to compare the organizer options and plan a wall-storage setup that fits your ship, cabin surface, and packing routine.