

Clothesline for Drying on a Cruise: What Actually Works
You're back from the pool deck, everyone's swimsuits are dripping, and the only options in your stateroom are the bathroom rail, a chair back, or the edge of the bed. By tonight those suits will still feel cold, and by tomorrow they may smell stale if the cabin air can't take the moisture away. A clothesline for drying can fix that, but only if it attaches to your cabin, sits in moving air, and isn't overloaded. Line length matters less than spacing, airflow, and getting free water out before anything goes up.
Table of Contents
- Choose a Clothesline Your Cabin Can Actually Hang
- Where to Hang the Line for Airflow and Less Humidity
- Hang Wet Swimwear and Towels in the Right Order
- Fixing Slow, Damp or Musty Laundry in a Cabin
- Pack and Check Your Line Before You Sail
Choose a Clothesline Your Cabin Can Actually Hang
Run your hand over the wall panel before unpacking. Cruise-cabin surfaces vary: some panels hold magnets firmly, while others offer little grip. Check the likely mounting spots before choosing a line, since extra length cannot compensate for a mount that slips or sags.
Run the Magnet Test First
Press a fridge magnet against the wall panel. If it stays put without sliding, the surface may support a magnetic line. If it barely clings or slips under its own weight, choose another attachment method rather than trusting it with wet laundry.
Check the other options against the cabin, too. Over-the-door hooks need a clear top edge and a door that opens and closes freely. Some cruise lines restrict these hooks because they can damage doors, so check the rules before packing them. Suction hooks need smooth, clean tile or glass. Tension rope needs two fixed anchor points, and typical inside cabins may lack usable fixtures at the right distance.
| Mount | What It Needs | Where It Works Best | Main Risk |
|---|---|---|---|
| Magnetic retractable line | Steel-backed wall or door panel | Metal cabin walls and bathroom panels | Weak or non-metal surfaces make it slip |
| Over-the-door hooks | Door that opens and closes freely | Doors with a clear top edge | Some cruise lines do not allow them because of door damage |
| Suction or adhesive hooks | Smooth, clean surface | Bathroom tile or glass | Loses grip if the load exceeds its rating or the surface is damp |
| Tension rope with anchor points | Two fixed points at a usable distance | Cabins or balconies with fixtures | Sags when wet and can touch bedding |
A magnetic line can be a practical fit where the cabin has a suitable metal surface. It avoids using the door edge, which some cruise lines prohibit, and packs down when not in use. Pair the mount choice with small-space storage solutions for cruise cabins that make better use of vertical surfaces and keep counters clear.
Practical rule: Match the mount to a surface you have confirmed, then check the fit at home on a similar surface.
Test with the heaviest item you expect to hang, not just a dry T-shirt. A mount that slides after an hour with a wet towel adds weight to your bag without helping your laundry dry.
Where to Hang the Line for Airflow and Less Humidity
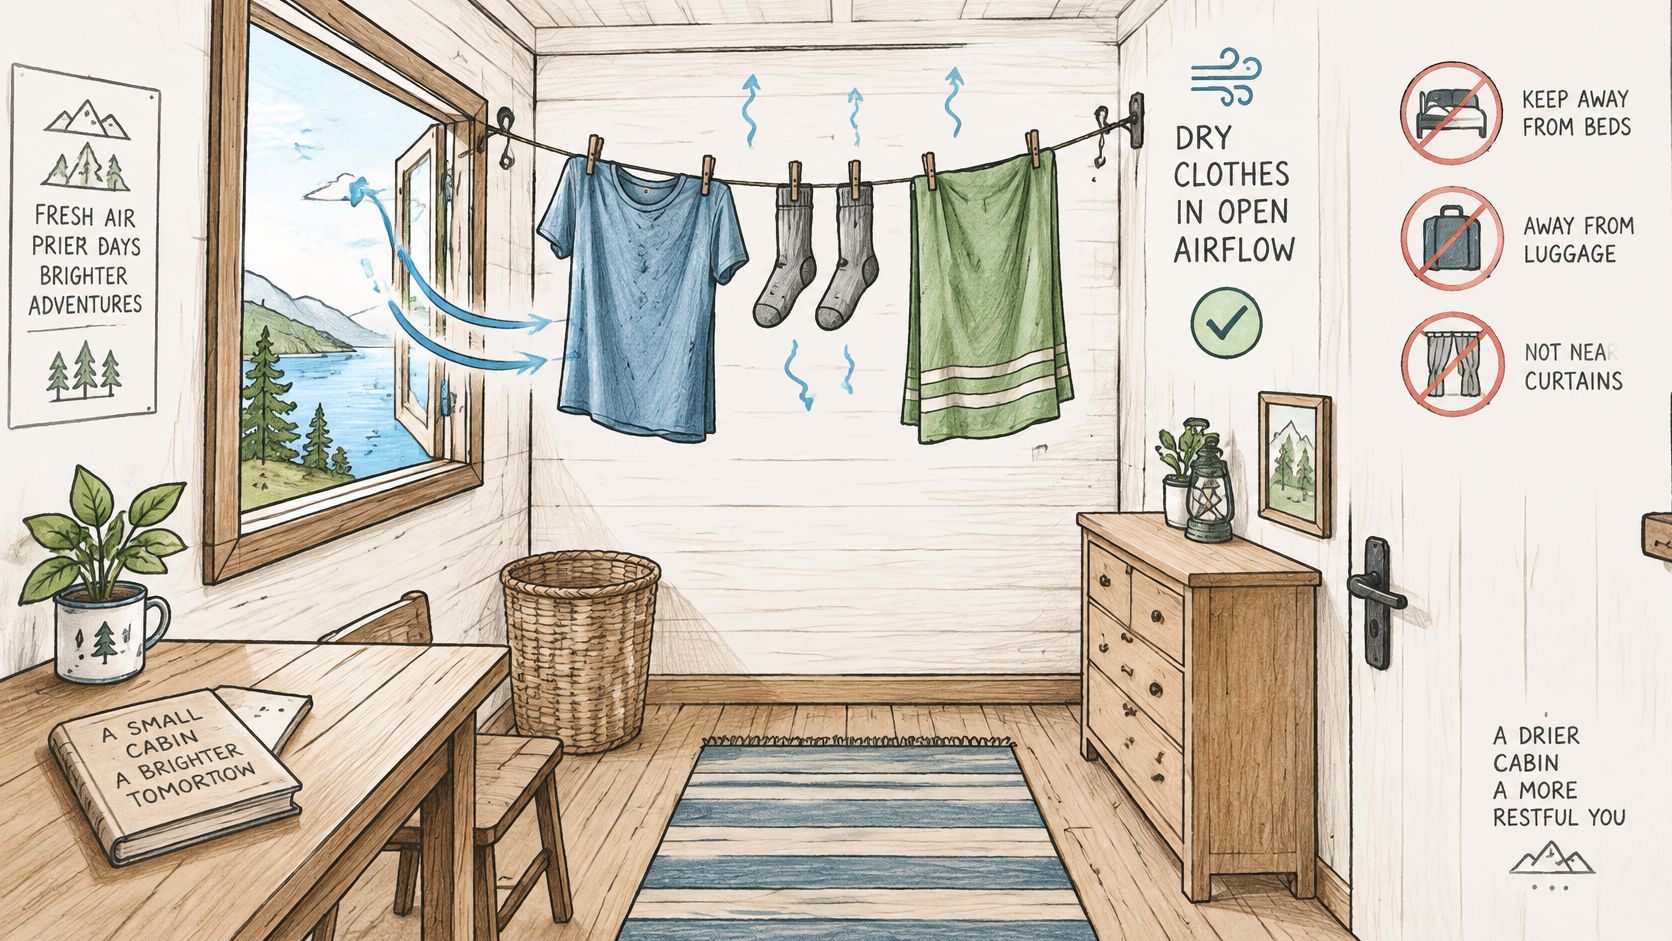
A line can fit the cabin and still dry poorly if damp fabric sits in still air. Choose an open spot away from beds, luggage, and curtains, where laundry cannot dampen pillows or suitcases. Avoid hanging garments flat against a wall: the hidden side gets little airflow and stays clammy.
Humidity, rather than warmth alone, often limits indoor drying. A textile drying study in Drying Technology found that increasing environmental humidity from 5% to 30% more than doubled drying time for thin cotton fabric. In a sealed stateroom, moisture from wet clothes can build up in the air and slow evaporation, even when the cabin feels warm.
Set Air Moving Before You Load the Line
Set up the airflow before hanging laundry. Run the cabin fan or HVAC circulation, or open the bathroom door and use its exhaust fan. Aim for a steady cross-breeze that moves air through the garments without bunching them. A portable fan can help; the same airflow principles apply when choosing a portable fan for camping.
Moderate warmth with air circulation usually helps more than high heat alone. Excessive heat can affect fabric dimensions, fibers, and swimwear elastic. Keep damp laundry clear of sleeping areas, particularly if a passenger has asthma or a weakened immune system.
Check nearby surfaces while clothes dry. If they feel cool or clammy, create more space around the garments. Persistent condensation on mirrors or walls is a sign to stop adding wet laundry and improve ventilation.
Hang Wet Swimwear and Towels in the Right Order
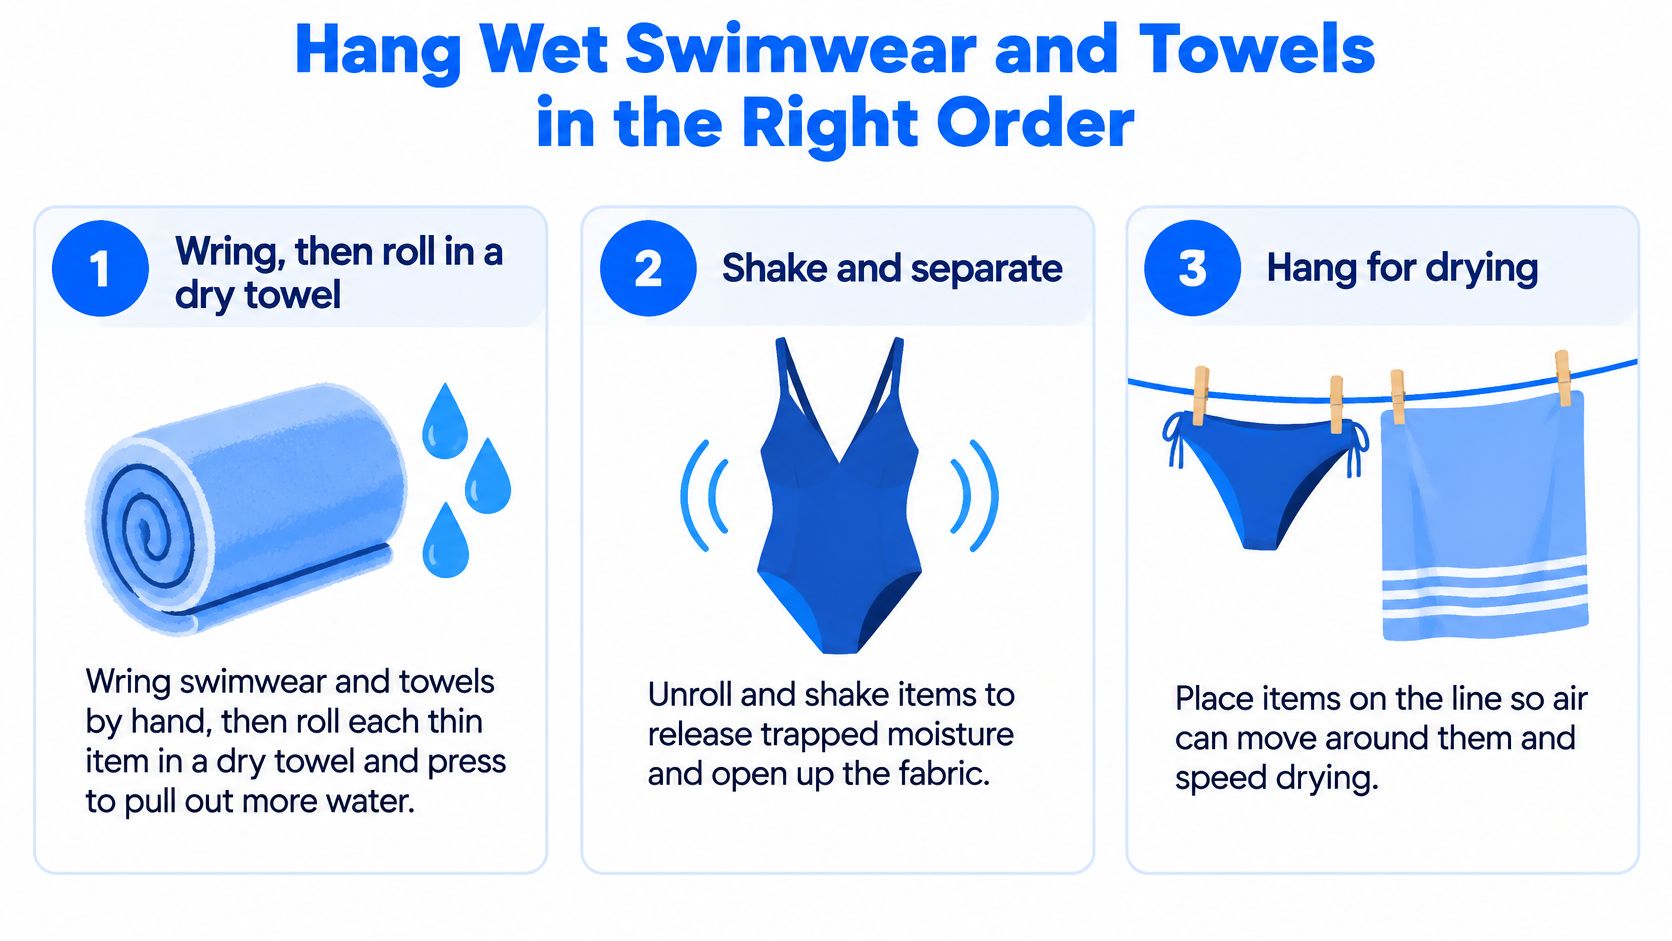
A swimsuit hung beside a dripping cotton towel can stay damp long after the towel has stopped dripping. Remove free water first, then arrange each item so air reaches as much fabric as possible.
Seven Steps That Actually Speed Drying
- Wring, then towel-roll. Wring out swimwear and towels by hand. Roll each thin item tightly inside a dry towel and press firmly to draw out more water. For elastic or delicate synthetics, press rather than twisting hard, which can stretch straps and waistbands.
- Shake out every crease. Unroll each item and shake it open so no fabric remains folded against itself. Smooth waistbands flat before clipping; folds can trap moisture where you cannot see it.
- Spread wide and leave gaps. Hang garments fully open, without folds or overlap, and leave about a hand width between items. Airflow helps carry moisture away from fabric, while crowded items restrict air access to their surfaces. A compact line may hold several garments, but spacing them gives each piece a better chance to dry.
- Separate heavy and light items. Put heavier garments near the line's supported ends, and reserve the airiest spot for lightweight pieces. Hang thick cotton towels singly over a rail, away from swimwear. Spread cotton underwear and socks flat rather than clipping them into bunches. If space is limited, dry bulky towels separately.
- Open doubled layers. Turn lined or doubled garments inside out and separate the layers. Pull pocket linings outward where possible. This helps expose the areas that hold water longest, including lined swim shorts and padded swim tops.
- Rotate thick sections. Turn seams, waistbands, and elastic areas so their damp sides face the moving air. These thicker sections often dry more slowly than the main panel. Check them again before deciding an item is ready to wear or put away.
- Check before packing. Feel seams, pockets, waistbands, and doubled fabric before placing anything in a drawer or bag. A dry outer surface can hide damp fabric underneath. If the thickest parts still feel cool, leave the garment hanging.
Aim a fan across the garments rather than straight at one item. That keeps fabric from bunching against its neighbor.
Match the Garment to Its Spot on the Line
When several people return from swimming, sort garments by how much water they hold and where they need the most airflow. Use this quick lookup alongside cruise packing ideas for small staterooms to plan what to bring and where it can dry.
| Garment | Drying Behaviour | Spacing Rule | Hang Where |
|---|---|---|---|
| Thin synthetic swimsuit | Releases water readily after wringing | Leave about a hand width between items | Strongest airflow zone |
| Thick cotton towel | Loops hold water and dry slowly | Hang singly over a rail, unfolded | Open space, away from synthetics |
| Cotton underwear and socks | Seams and thick sections dry more slowly | Spread flat, not clipped in bunches | Middle of the line |
| Layered or doubled garment | Inner layers hold moisture | Turn inside out and separate the layers | Open spot with room around it |
Thin synthetics are often the easiest items to dry between a swim and the next activity. Cotton needs more patience: thick towel loops, sock heels, and elastic bands can stay damp after the rest of the garment feels dry. Check those areas before packing anything away.
Fixing Slow, Damp or Musty Laundry in a Cabin
Items still cool and clammy after two hours point to excess moisture in the cabin air, not a shortage of line. Check ventilation first, then inspect the fabric for trapped moisture or an anchor problem. A warmer cabin alone will not remove water from the air.
Musty smells or spots mean fabric stayed damp too long. Re-dry the item with airflow reaching the slow-drying areas; wash it if the odor remains in the seams. Elastic and padded sections often stay wet after the main fabric feels dry.
Read the Symptom, Then Apply the Fix
If seams are damp but the main panel feels dry, turn the garment and open any doubled fabric so air can reach those areas. A line that sags or drips onto bedding needs a load and anchor check before anything else goes on it. Wet bedding creates another slow-drying problem in an already humid cabin.
| Symptom | Likely Cause | Fix |
|---|---|---|
| Items still cool and clammy after two hours | Too much humidity in the air | Ventilate the cabin and run the fan or HVAC |
| Musty smell or spots on fabric | Items stayed damp too long | Re-dry thoroughly; wash if the odor remains |
| Seams damp while the main panel feels dry | Trapped water in doubled fabric | Turn the item and direct airflow toward the seams |
| Line sags or drips onto bedding | Overloaded line or poor anchor | Shorten the load, move the line away from beds, and retighten or reposition the mounts |
| Condensation on windows or walls | Moisture from drying in a sealed cabin | Open the vent or bathroom door and reassess the drying setup |
If a load stays damp after a full session with ventilation running, use onboard laundry service where available or limit cabin drying to swimwear and small synthetics. Stopping at this point protects your remaining sea days.
Pack and Check Your Line Before You Sail
A clothesline kit needs more than the line. Pack what helps you move wet items and keep them from dripping onto dry clothes or cabin surfaces. A small, repeatable setup is easier to use throughout the trip.
Your Short Packing List
- The clothesline: Choose a mounting style suited to the surfaces available in your cabin.
- Towels for wringing: Set aside towels for rolling wet garments. A saturated towel absorbs less water, so switch to a dry one when needed.
- A mesh bag or organizer: Keep wet swimwear separate while carrying it back to the cabin.
- Your cruise line's hook policy: Some cruise lines do not allow over-the-door hooks because of door damage risks. Leave them at home or pack them separately from the mesh organizer if your line restricts them.
For a magnetic option, the Magnetic Clothesline for Cruise Ship Cabin is made for drying swimwear, towels, and small clothing items inside a cabin. It costs $15.95 USD. Try your planned wringing and spacing routine at home before deciding how much drying time to allow onboard.
Run One Practice Session at Home
If you have a suitable metal surface at home, set up the line there and hang one wet towel and one swimsuit. Wring and towel-roll them first, then space them apart and direct airflow across them. Check the seams as they dry, since they can stay damp after the main fabric feels dry.
Before you sail: If the towel takes all evening at home, allow more time for towels onboard rather than counting on a same-day turnaround.
Before packing, confirm the mount suits the cabin surfaces you expect, and keep the line with your wet bag so the setup is easy to find after a swim. Decide which items can dry together and which should wait. That reduces crowding on the line and limits how much moisture enters the cabin at once.
Nordmoose's cruise clothesline is made for drying swimwear, towels, and small clothing items inside a cabin. Visit Nordmoose to see its cruise essentials and choose what suits your trip.